Whether you have just created a VIP Booker or you want to make modifications to an existing VIP Booker, it is important to know whether you are editing a commerce or a registration VIP Booker, as both will have to be configured differently.
After reading this article you will understand how to configure a registration VIP Booker
Let's get you started
- If you have just created a new VIP Booker, the Edit VIP Booker window will open automatically.
- The same will happen if you select a Calendar Item, Click on
Bookersand then click on 1 of the VIP Bookers shown in the overview screen.
You will end up in the Edit VIP Booker window.
The top of the window is the same as the create VIP Booker window.
But the part underneath the horizontal line is new.
As you have already created a VIP Booker Styling and have linked the Styling to the VIP Booker at the time of creation of this VIP Booker, there is no need to customise any of the look and feel.
The edit window for a registration VIP Booker is quite straightforward.
1. Registration Package
Here you have to select the Package that is used to do the registration.
Note: you will have to make sure this Package has been created before you edit this VIP Booker. Without this Package you wil not be able to finalise the configuration of a registration VIP Booker.
The creation of a registration Package is actually very simple. Much simpler than the creation of a real Hospitality Package.
2. Available Items
Available Items allows you to work with questions, on the VIP Booker. This requires advanced configuration skills.
3. Online from / until
By filling in dates here, you can limit the activity of this VIP Booker to the time slot you configure. Sales via this VIP Booker will not be possible before or after these dates.
4. Sales channel
This field allows you to consider this specific VIP Booker as an alternative sales channel. You can specify a name for the sales channel as well as a colour.
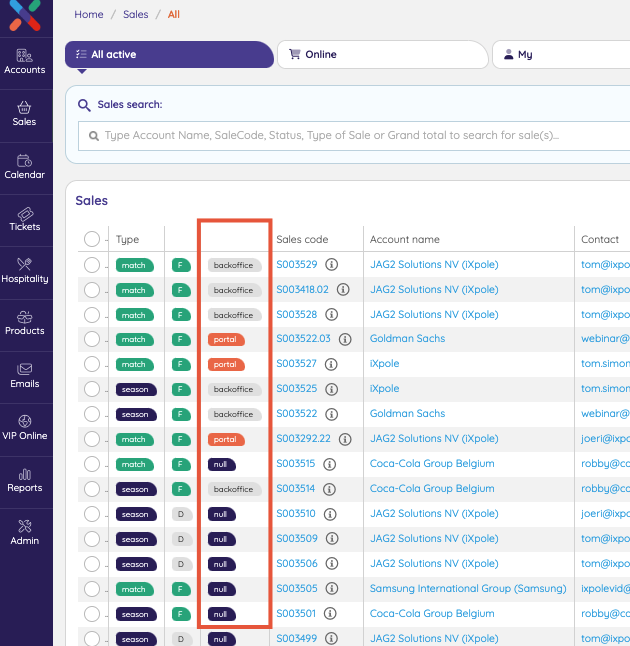
The Sales Channel is shown in the 3rd column of the Sales overview screen (
Sales >> All)