Your business partner can - and in some cases, must - assign a Guest to their tickets. This can be done by selecting a Guest from their Guest List.
After reading this article you will understand how to assign a Guest to a Ticket in iXpole
Let's get you started
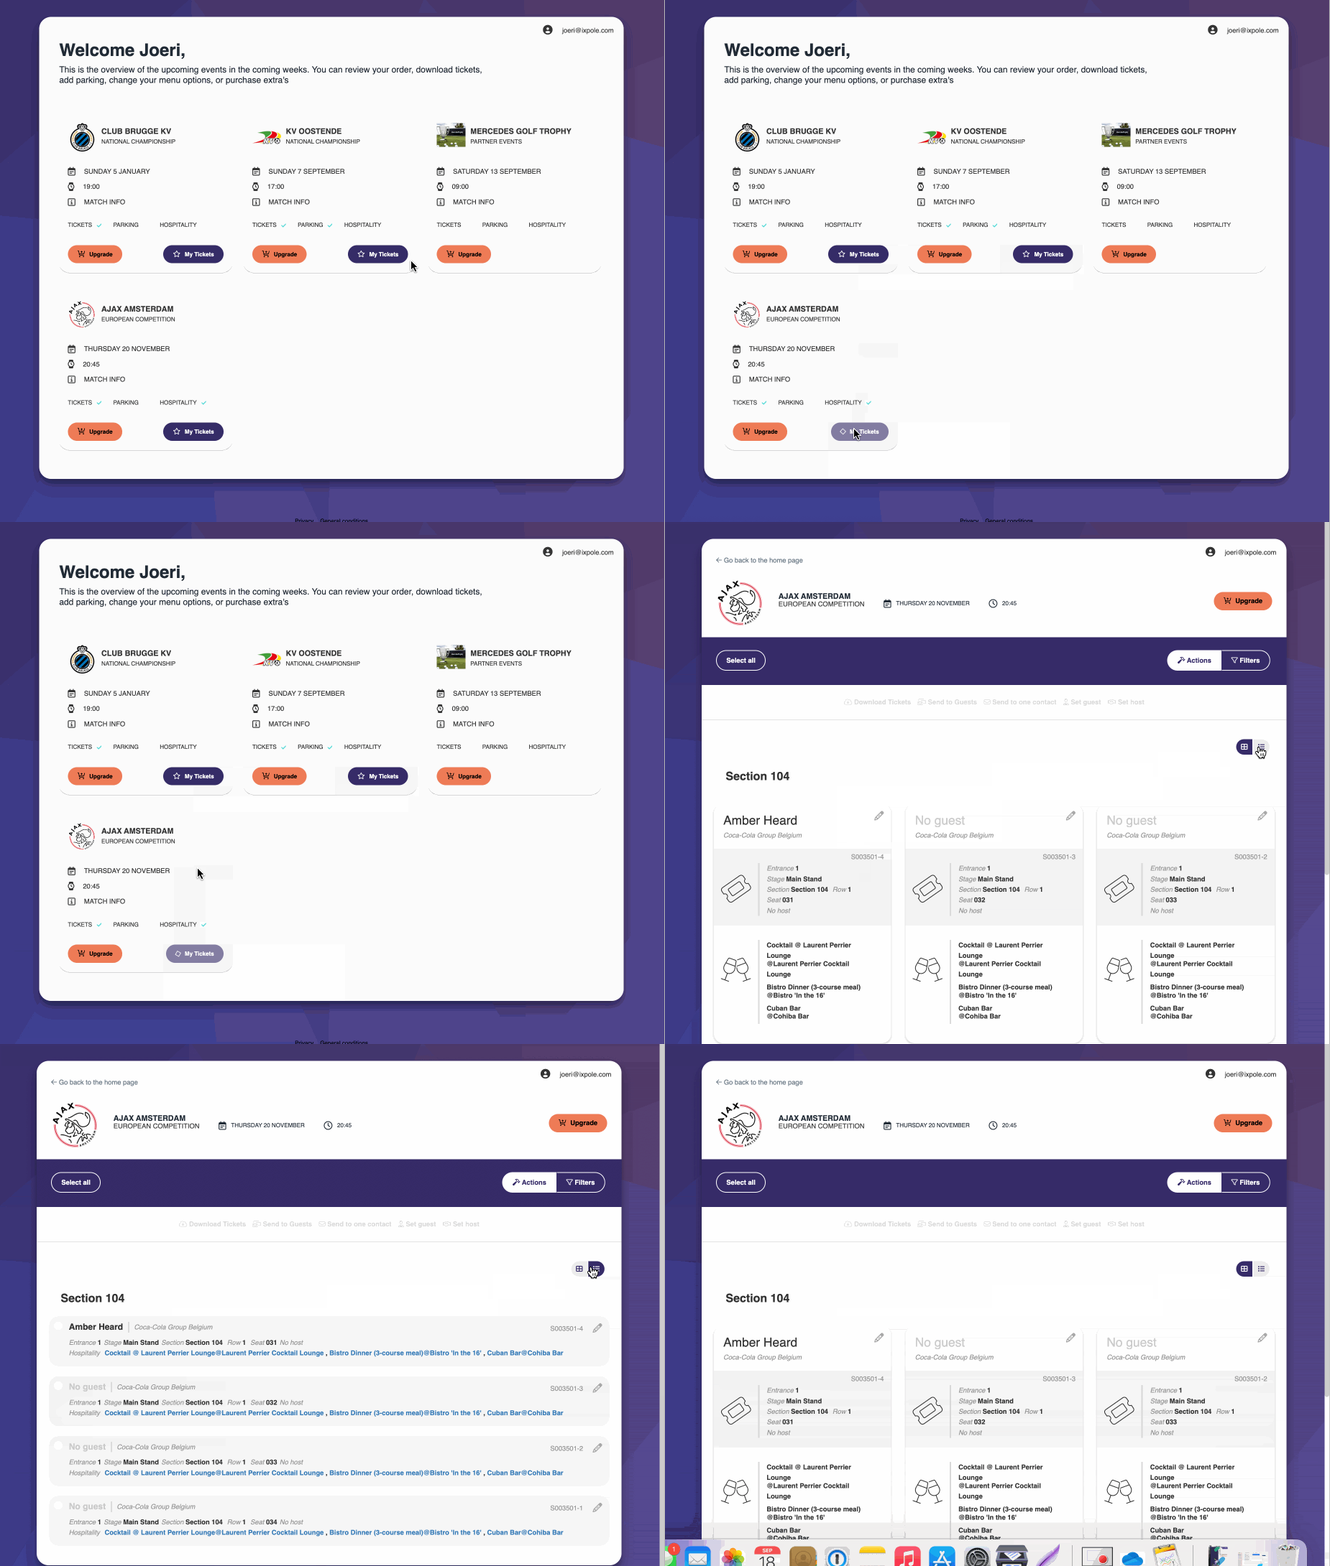
On the VIP Portal, under the Calendar Item click on
My Tickets. The Ticket management page will open.On this page you will see an overview of all the Tickets you can manage on this VIP Portal. If you are entitled to manage tickets of multiple Accounts, all these Tickets will be shown on this page.
You can decide to view this page in 'Card view' or in 'List view'. No matter which view you select, the next steps are the same.

To assign a Guest to a ticket, the End User should click on the 'Pencil' sign in the top right corner of the Ticket card.
A Ticket management pop up will show. The top line is for the Guest management. When you you click anywhere on the line stating
Select Guest, a drop down list will be shown. You can assign a Guest to this Ticket in 2 ways:1. Select an existing Guest
The drop down list will show all Guests that have been registered in this Address Book.
You can scroll in the Guest List, to find the Guest you are. looking for
Or you can start typing (a part of) the name of the Guest or mail address and the auto search will narrow down the options in the Guest List. Click on the desired Guest from the drop down list to select it.
2. Create a new Guest.
If the Guest is not in the Guest List yet, the End User has to add the Guest to the Guest List.
In the drop down list, Click on
Add New Guest. Complete the required fields and click on SaveFor both options, don't forget to click on
Save at the bottom right corner of the pop up. 