
Designing a ticket can be a tedious work to do from scratch. And we also know that some design tools have a lot more flexibility when it comes to nice looking graphics. That is why we allow you to upload an image which will be used as background...
In this article you will learn how to add a background image to your ticket layout. You will also know which formats it should be.
Let's get you started
This image should be in format of A4 paper. You can place a background image on every layer, but only the top-most background layer will be visible when the ticket is being rendered.
Add a background image
To have the most control on your ticket design, we advise you to use a background image. In order to add a background image on a layer, click on the white space outside the canvas (where the red border is drawn).
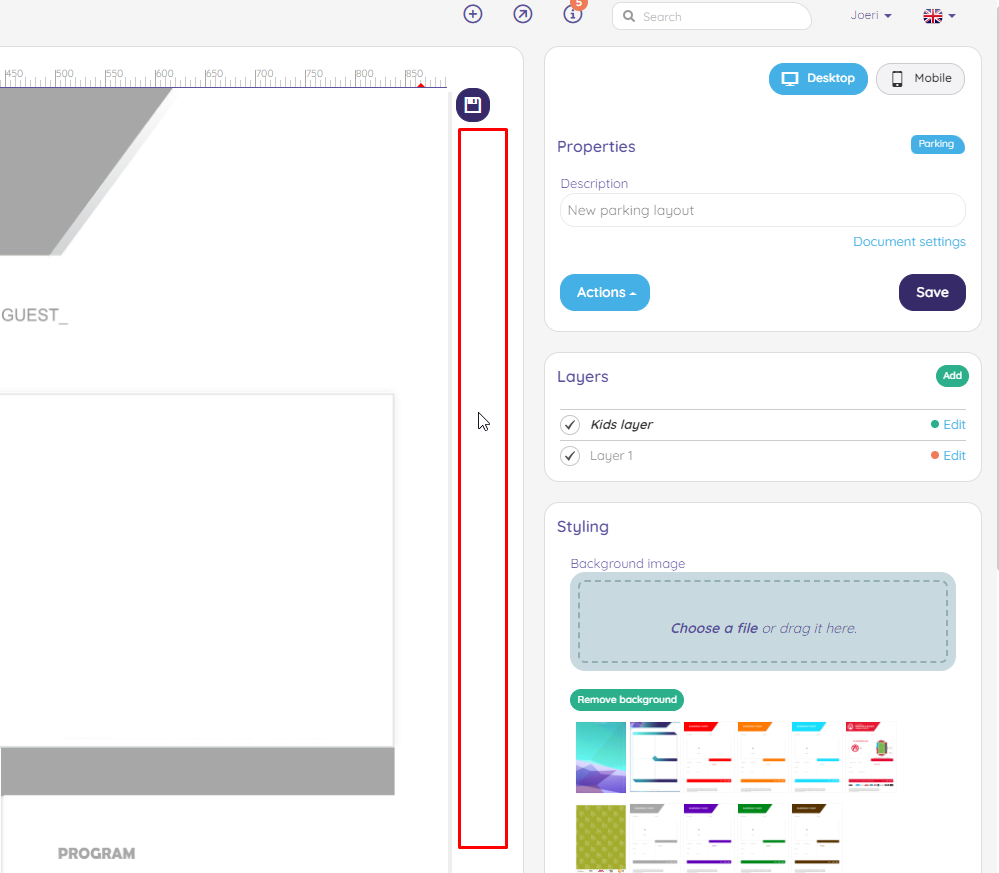
In the styling pane on the right, you'll see an area which will show you all preiously uploaded background images. You can also upload a new background image using the image uploader.
The maximum size of a background image is 800kb
Once uploaded, you can click on the uploaded image. It will be placed on the canvas.
Changing a background image
Click on the white space outside the canvas. Now you can select a (different) image by clicking one in the styling page.
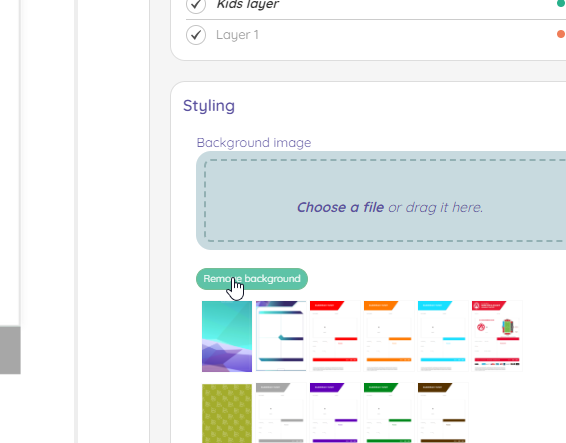
Removing a background image
Click again on the white space outside the canvas. You can click on the button Remove backrgound. This will remove the background image from the layer. This will not remove the background image from the uploaded images.
Sizes of the background image
Below you will find the ideal size of the background images of the 2 diffrent types
- desktop: 1240px width, 1754px height (A4 size)
- mobile: 360px width, 740px height