In today's mobile world it happens more often that your business partner (and possibly his guests) no longer print their tickets but simply keep them on their mobile phone.
The current A4 tickets are too large to display on the screen of a mobile phone. To make your ticket mobile friendly we have added a feature on our current ticket designer that allows you to create your own mobile ticket.
In this article we are going to teach you how you can create your mobile ticket and explain you when regular and mobile tickets are used.
Let's get you started
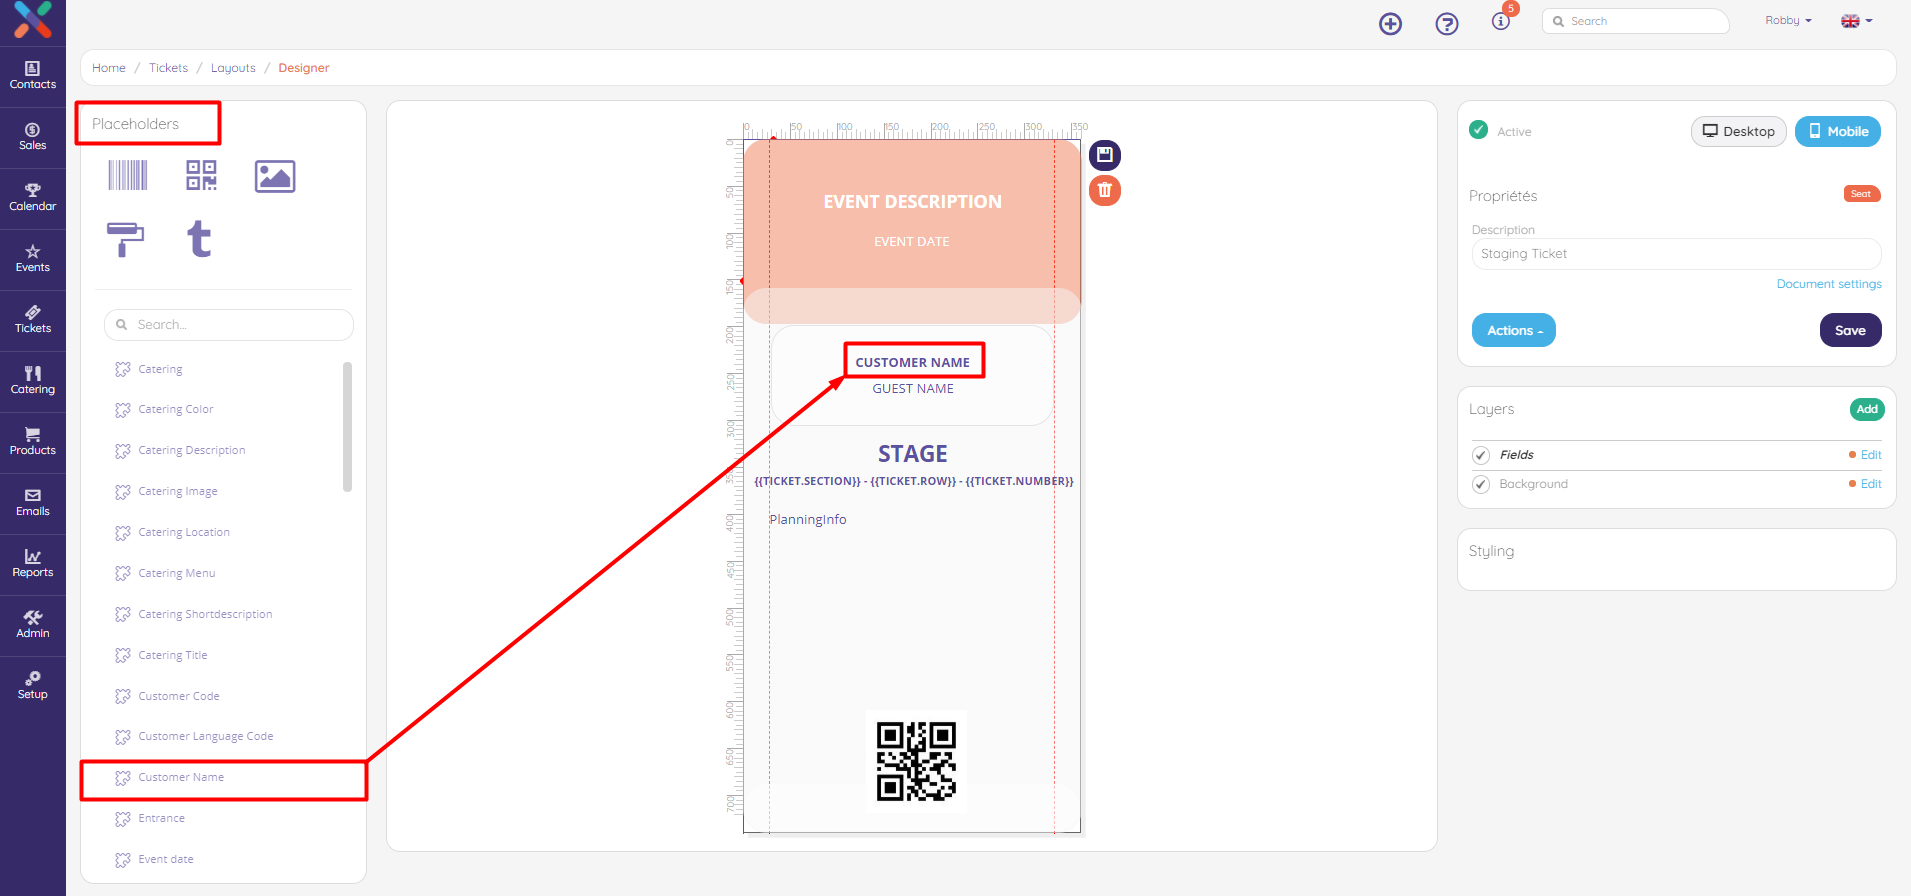
Under the Tickets tab click on Layouts
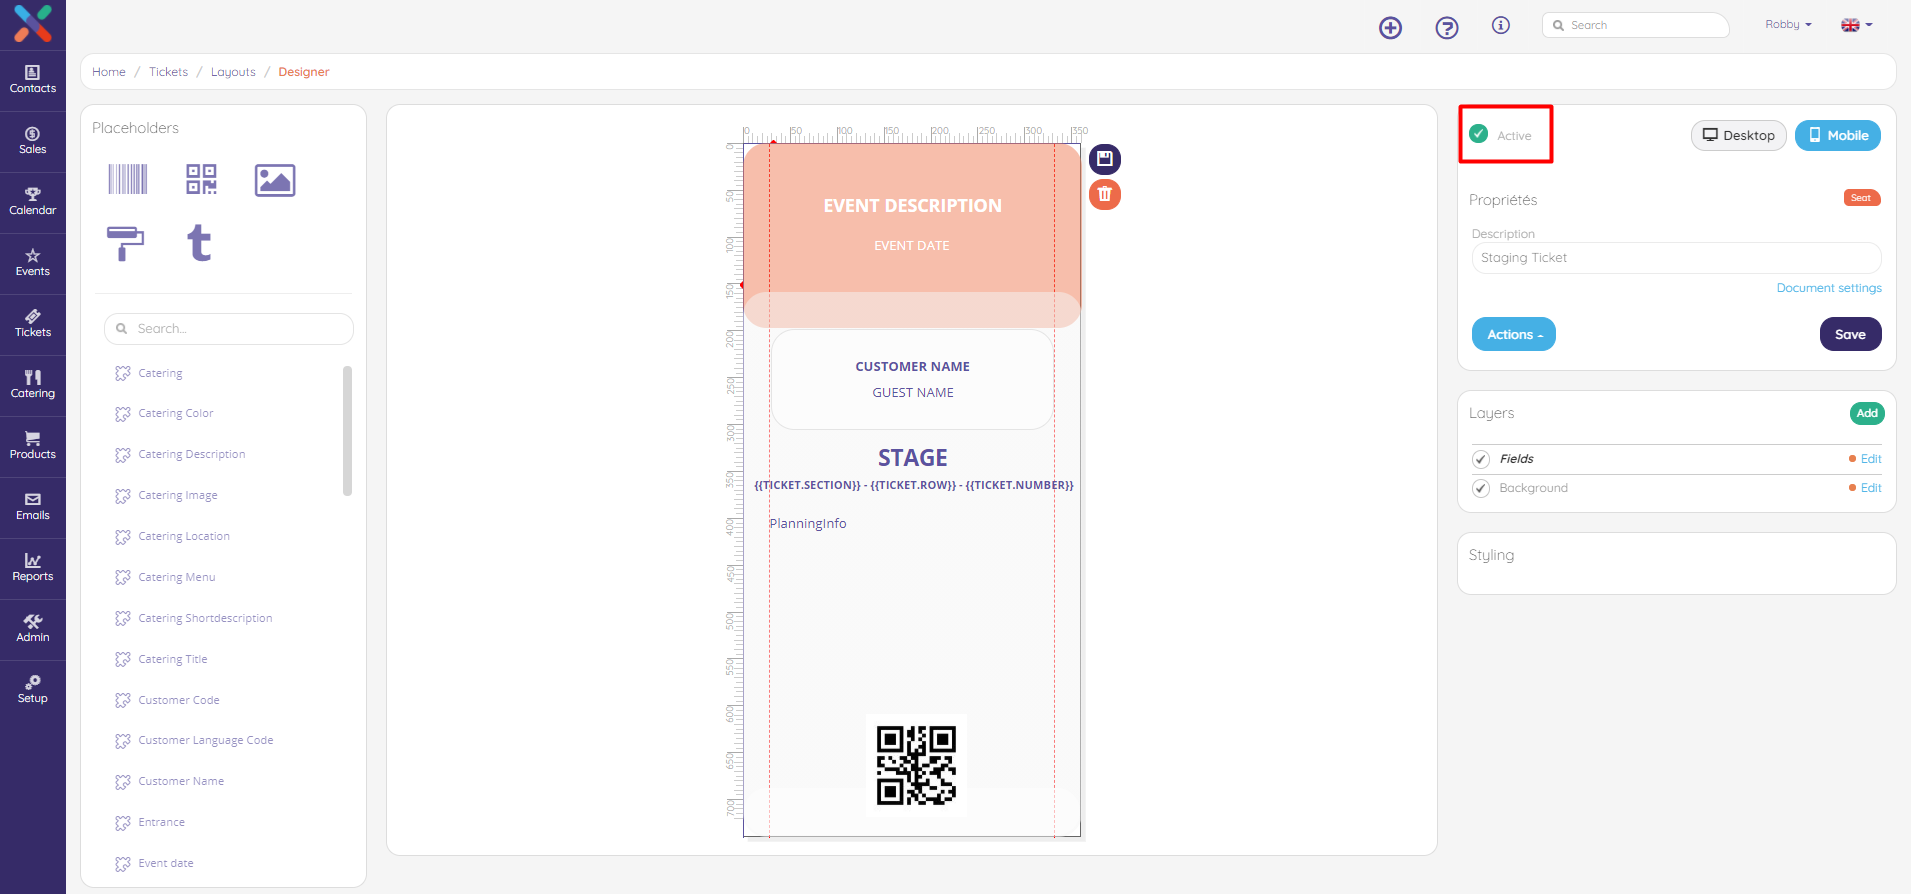
Step 1: Switch designer to mobile design
As you click on your actual ticket, you will see the ticket layout which is currently being used to print the tickets by your end customers and their possible guests. We call this the desktop ticket.
From now on you also have the possibility to design a mobile ticket just by clicking on Mobile.
Step 2: Creating the design
As mentioned before, this designer is based on our ticket designer. So you can use the same drag and drop features to design your mobile ticket. But because it's designed and scaled for a mobile device there is less space of course.
Step 3: Activate the ticket
After you've finished designing this ticket, you need to activate the mobile version of the ticket.
By checking the active checkbox like shown on the screenshot below, this ticket will be activated and used when the end customer wants to download ticket(s) on a mobile device.