
The ticket is an essential part of the customer journey. Even more so in the VIP hospitality business.
Your customers invite their relations to the event, so it is very likely that you don't know every VIP attending your event.
On the one hand you are going a long way to personalise the entire experience for the VIP's. On the other hand, you don't know every attendee. So how to inform this person about what to expect and offer him the best possible customer journey?
In iXpole it is possible to foresee a detailed planning of the event, which is contextual. This planning can be shown on the Ticket and/or on the VIP Online
After reading this article you'll understand the concept of Planning Info, how to configure it and what it is used for.
Let's get you started.
Planning Info is the actual planning you would like to share with the attendees of your event, on their Ticket or on the VIP Portal.
In this article we teach you:
- where to find the Planning Info
- how to create a Planning Info
- how to modify/remove a Planning Info
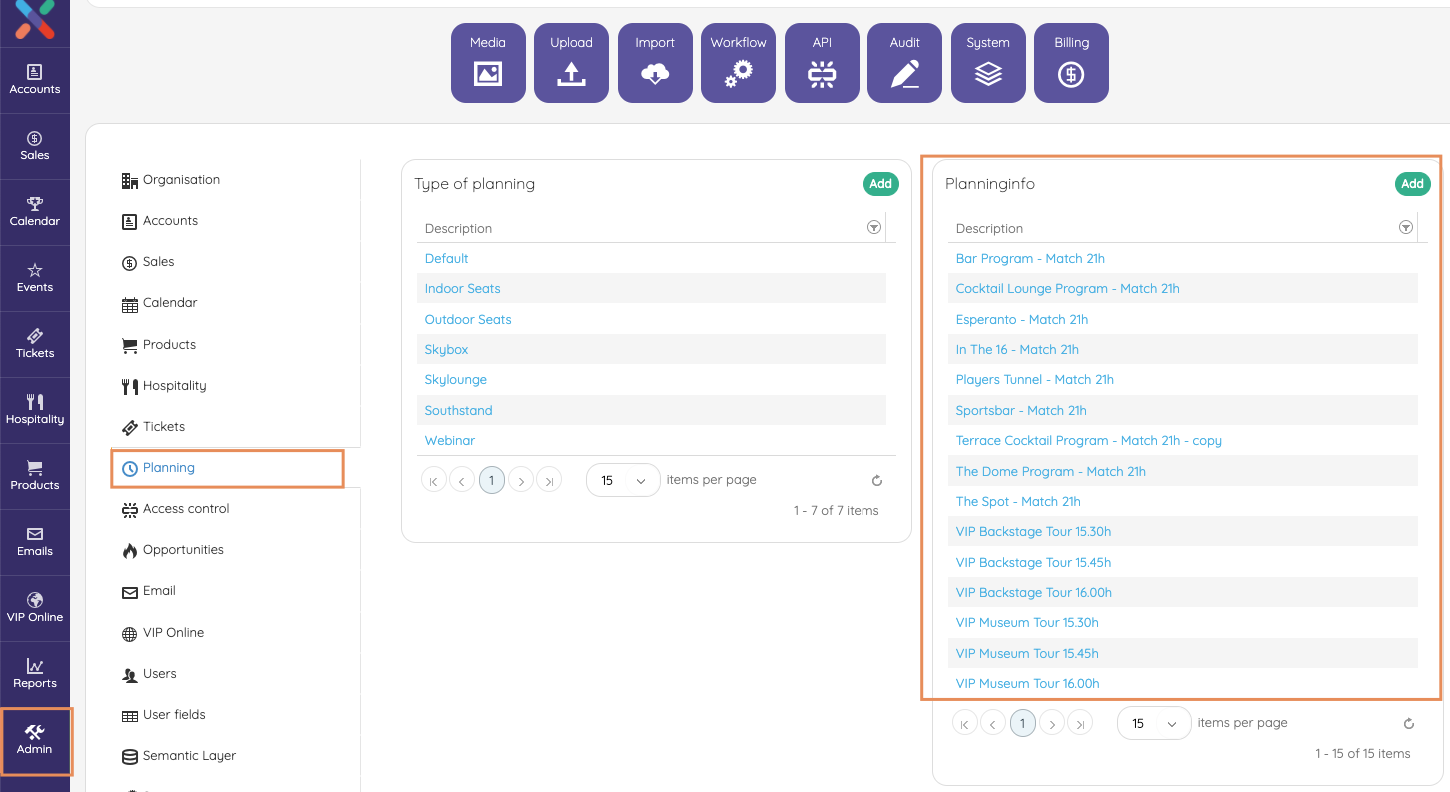
1. Finding a Planning Info
Click on
Admin in the left-side vertical main menu. In the submenu click on Planning.On the Planning Admin overview page you will see a table with/for Planning Info. Verify if the required Planning Info is already in there.
2. Creating a Planning Info
If the required Planning Info is not in the table, you will have to create it by clicking on
Add.- Under Description write the name you want to give to this Planning Info.
From experience, we typically see the need for different Planning Info entries if different hospitality options are offered. Some offerings will start sooner; other will start later. In Clubs with different entrances, you might decide to grant access to certain sections at different times....
- Next you can start adding planning lines by clicking
Add - Typically you can fill in a time in the second column and some text (which activity takes place at this time) in the third column.
- You change the position of the lines by clicking on the icon in the first column and then drag the line to another position
- You can delete a line by clicking the waste bin icon.
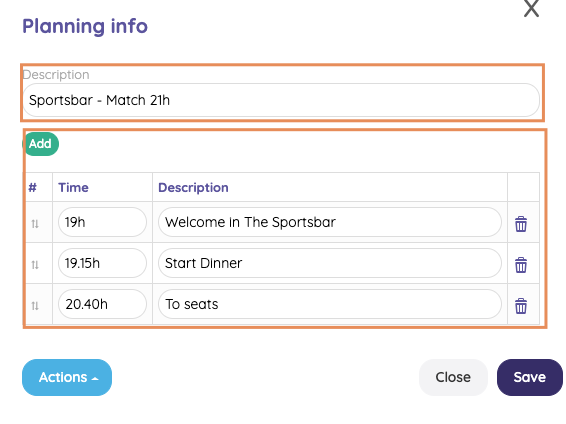
Don't forget to click on
Save when you are done3. Modifying/removing a Planning Info
Locate the Planning Info in the Planning Info table (see 1.) Click on it.
- Modify what needs to be modified and click on
Save - Or click on
Actionsand thenRemove